Villa bathroom design: layout, waterproofing and materials that last
How to design a villa bathroom that lasts: layout and clearances, walk-in showers and falls, waterproofing, ventilation, stone, porcelain and lighting.
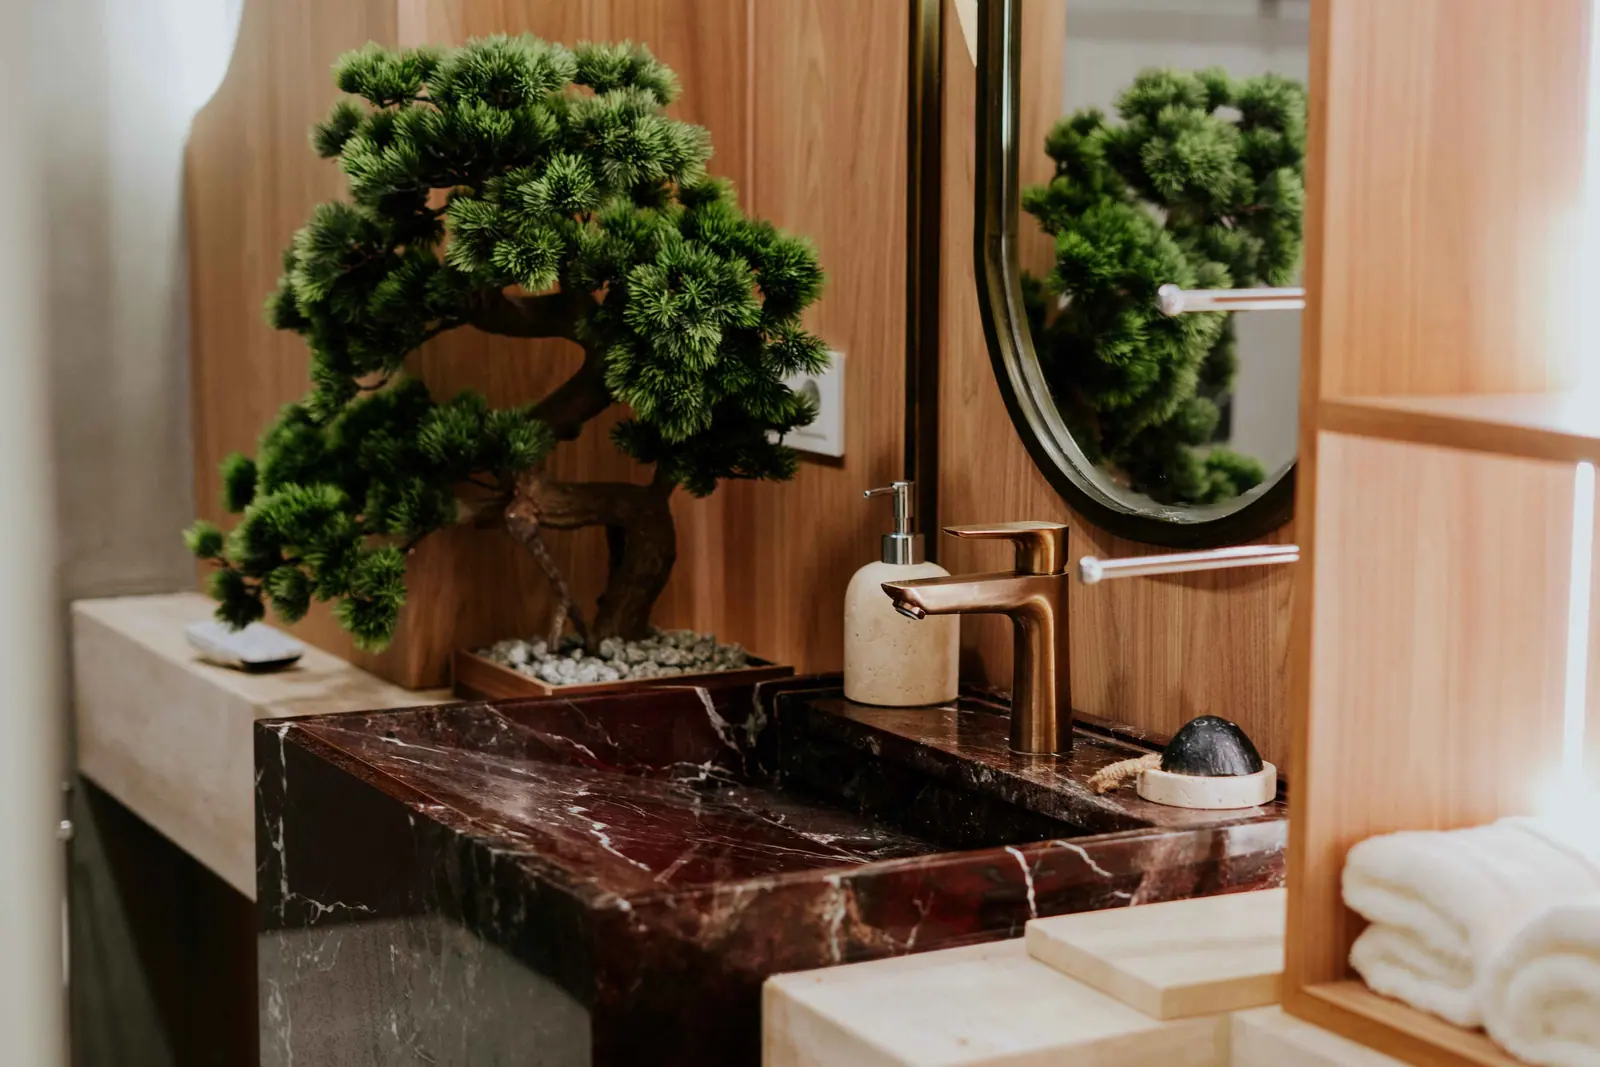
Villa bathrooms are often large, full of natural stone and designed to impress. But the bathrooms that stay beautiful for years are the ones where the invisible parts were done properly: layout, drainage, waterproofing and ventilation. Get those right and almost any finish will last. Get them wrong and even the most expensive marble will stain, crack or leak.
Layout and clearances
| Element | Comfortable dimension |
|---|---|
| Space in front of a WC | 70 – 80 cm |
| WC centre to side wall | at least 40 – 45 cm |
| Single basin width | 60 – 80 cm |
| Double basin vanity | 140 – 180 cm |
| Space in front of a vanity | 90 cm |
| Walk-in shower | 90 × 120 cm minimum, 100 × 150 cm preferred |
| Freestanding bath clearance | 15 – 20 cm around, more for cleaning |
In a master bathroom shared by two people, a separate WC compartment and two basins make the biggest difference to daily comfort.
Walk-in showers and falls
Level-access showers look clean and are easy to use, but they depend on correct falls. The floor must slope towards the drain, typically 1.5–2 percent, and the screed must be planned from the start, since raising the floor later is difficult. Linear drains allow the floor to fall in one direction, which suits large-format tiles and stone slabs. Point drains need the floor to fall in four directions, which means more cuts.
Waterproofing
Waterproofing is the single most important layer in a bathroom:
- Apply a liquid or sheet membrane over the whole floor.
- Turn it up the walls by at least 10–15 cm, and to full height in the shower.
- Reinforce corners and junctions with tape.
- Fit collars around pipes and use drains with a membrane flange.
- Test before tiling by flooding the floor for 24 hours where possible.
Ask for photos of the waterproofing before it is covered. In Istanbul renovations, leaks into the floor below are among the most common and most expensive post-handover problems.
Ventilation
Large bathrooms with showers produce a lot of moisture. Every bathroom needs mechanical extraction vented outside, even if it has a window, ideally with a humidity sensor or a run-on timer. Poor ventilation leads to mould on silicone and ceilings, and damage to joinery in the next room.
Materials
- Natural marble: unmatched depth, but porous. Choose dense stones, a honed finish on floors and seal regularly.
- Large-format porcelain: marble or stone looks with far less maintenance and fewer joints.
- Microcement: seamless, but must be applied by experienced teams over a stable substrate.
- Timber: only in dry zones, with a suitable finish, and never in direct splash areas.
On floors, check the slip resistance class of the tile, especially in showers. Continue the same material into the shower floor where possible for a calm look.
Fittings
Wall-hung WCs with concealed cisterns and floating vanities make cleaning easier and floors look larger. Thermostatic shower valves are safer and more comfortable. Plan niches in the shower walls instead of adding shelves, and place them away from the main view.
Lighting
Combine general light from the ceiling with good face lighting at the mirror, ideally from both sides or from a backlit mirror, to avoid shadows. A soft indirect light, such as a cove or a lit niche, works well as a night light. All fittings in the shower zone must have the correct protection rating.
Mistakes to avoid
- Deciding on a walk-in shower after the screed is laid
- Skipping the flood test before tiling
- Using polished stone on a shower floor
- Recirculating or no extraction
- Placing the WC as the first thing seen from the door
For how a bathroom fits into a master suite, see master suite design. Stone and porcelain are compared in natural stone vs porcelain floors, and the checks to make at handover are listed in snagging a new-build villa.
Frequently asked questions
How much space do I need for a walk-in shower?
A comfortable walk-in shower is at least 90 x 120 cm, and 100 x 150 cm or more if it has no door and a single glass screen. The larger the opening, the more space you need to keep water inside the shower area.
Is marble a good choice for a bathroom?
It can be, with the right stone and finish. Dense marbles with a honed finish are safer underfoot than polished ones, and all natural stone in wet areas needs sealing and gentle cleaning products. Large-format porcelain gives a similar look with less maintenance.
Where should waterproofing be applied?
On the whole bathroom floor, turned up the walls by at least 10-15 cm, and on shower walls to full height or at least well above the shower head. Corners, pipe penetrations and floor drains need reinforcing tapes and collars.